Hello Stampers!
I'm joining another color challenge over at
Create with Connie and Mary (ccmc208) with
colors I rarely use:
They look so cute together with the little suns don't they? Well, I didn't make little suns but I did pull out one of my new sets for this challenge:
Just seeing the little images from Storybook Friends stamp set brings me back to when my girls were little. We are all voracious readers and they started from a very young age- maybe from all the books I read to them. Read to your children! It's fun!
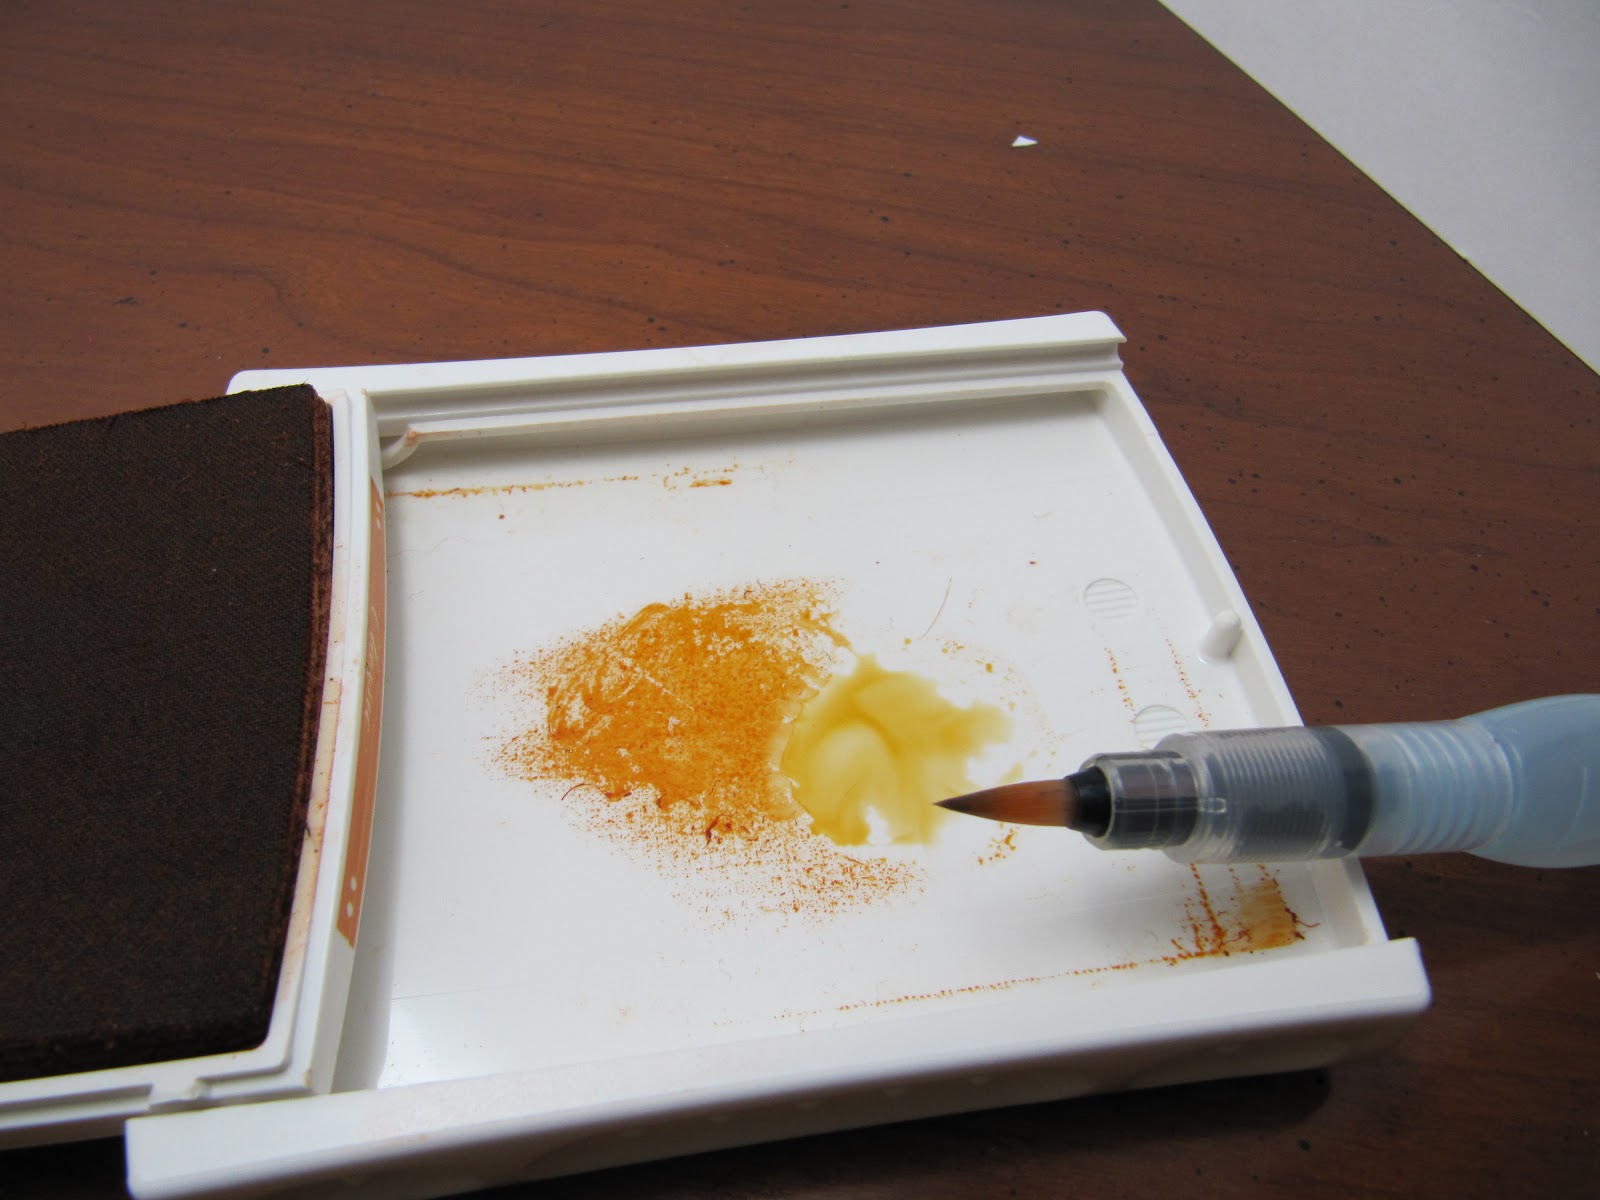
I stamped the fox with my Jet Black Stazon Pad (#101406) and colored in with my Aquapainters (#103954) and my ink pads (Pumpkin Pie, Real Red, Old Olive, and Bashful Blue), and cut out with the Labels collection Framelit. Have you water colored with your stamp pads before? If you haven't all you need to do is squish your pad before you open them to get ink on the lid of the pad. You can then pick up this ink with your aquapainter, watercolor paint brush, or blender pen to happily color away! Just a tip- when painting a larger area, like the fox, get the ink really wet so it spreads evenly. You can add more color over the top as you need it but you'll have better coverage to start. Let me show you what I mean:
Here is the lid with the ink squished on the top. On the left is how it looks when you open up the case. On the right I've mixed the ink with the water in my aquapainter to make a "wash". When I paint on my first coat it looks like this:
It is a light, even coat. I can then add more color and detailing as I like:
I'm not really very talented at water-coloring but I really don't have to be- the images are so cute they stand up on their own!
Okay, so I used Basic Gray for the background card stock, and Pumpkin Pie for the belly band, after embossing it with the new Argyle Embossing folder. I made a banner in Real Red cardstock and embellished it with a Basic Grey button (using the Button, button Sizzlit die).
I guess the last thing I should tell you about is omitting. The Hooray actually is part of the stamp with the fox. To stamp the fox with out the words I carefully applied the pad to the stamp without getting the ink on the words. I then cleaned the stamp carefully, let it dry, then inked up the words with the Black Stampin' marker and stamped just the words on the Real Red cardstock.
Thanks for stopping by!
Shop 24/7 by clicking Here